I know what it’s like to stand in your yard and have no idea where to start.
You want a space that looks good and actually works for how you live. But every time you think about tackling it, the whole thing feels too complicated.
Should you start with the plants? The layout? What about drainage? And why does everyone make it sound like you need a degree in horticulture just to pick the right shrubs?
Here’s the truth: good landscaping isn’t about following some complex formula. It’s about understanding a few basic principles and applying them to your specific space.
I’ve spent years working with homeowners who thought their yards were hopeless. Most of them just needed a clear plan and someone to cut through the confusion.
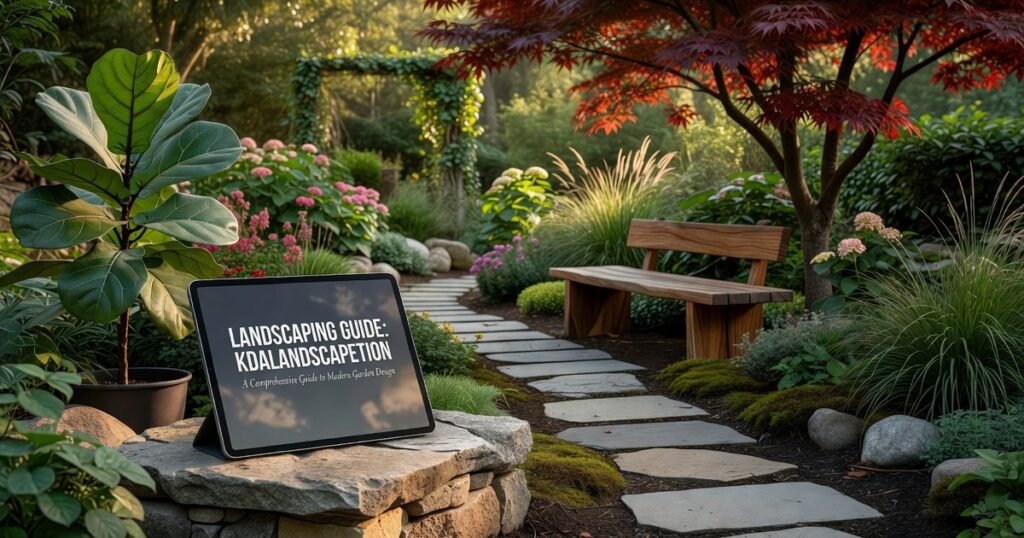
This landscaping guide kdalandscapetion walks you through the process from start to finish. We’ll cover planning, plant selection, design basics, and maintenance in a way that actually makes sense.
No overwhelming jargon. No assumptions that you already know what hardscaping means (we’ll get to that).
You’ll learn how to assess what you’re working with, make smart choices about plants and materials, and create a yard that doesn’t require a full-time gardener to maintain.
By the end, you’ll have a roadmap that turns that overwhelming outdoor space into something you’re proud of.
The Foundation: Planning and Designing Your Landscape
You can’t just throw plants in the ground and hope it works out.
I learned this the hard way when I redesigned my first outdoor space. I picked pretty plants without thinking about where the sun actually hit my yard. Half of them died within a month.
Now some people will tell you that planning is overrated. They say you should just start planting and figure it out as you go. That spontaneity keeps things natural and organic.
Here’s my problem with that approach.
You end up spending twice as much money replacing things that didn’t work. You waste entire seasons waiting for plants to grow in spots where they’ll never thrive.
Planning doesn’t kill creativity. It saves you from expensive mistakes.
Assess Your Canvas
Start by watching your yard for a week. I mean really watching it.
Note where the sun hits at different times of day. Morning sun on the east side is gentler than afternoon sun that bakes the west. Your shade-loving hostas will thank you for knowing the difference.
Check your soil by digging down about six inches. Is it clay that clumps together? Sandy and loose? Dark and crumbly? Each type tells you what will grow easily and what you’ll need to work at.
Walk your yard after a heavy rain. Where does water pool? Where does it run off too fast? These drainage patterns matter more than you think.
Define Your Why
What do you actually want from this space?
I ask this because most people skip right to Pinterest boards without asking themselves how they’ll use their yard. You might love the look of a sprawling lawn, but if you hate mowing, that’s a problem.
Think about zones. Maybe you need a spot for morning coffee. A place where kids can kick a ball around. A corner for growing tomatoes.
Write these down. When you’re tempted to add that seventh garden bed, you can check if it actually serves your goals or just looks nice in your head.
Create a Simple Bubble Diagram
Grab some paper and draw your yard’s outline.
Now add circles (bubbles) for each zone you identified. Don’t worry about exact shapes or measurements yet. This is about flow and placement.
Put your dining area close to the kitchen door. Position the play area where you can see it from inside. Tuck the compost bin somewhere accessible but not front and center (nobody needs to showcase their rotting vegetables).
This landscaping guide kdalandscapetion approach helps you spot problems before you dig. Like realizing your relaxation zone is right next to where the kids will be screaming on the swing set.
Choose Your Style
Your landscape should make sense with your house.
A sleek modern home looks weird with a cottage garden overflowing with wildflowers. A traditional brick colonial feels off with minimalist concrete planters.
I’m not saying you can’t mix styles. But pick one as your foundation and let everything else support it.
Modern means clean lines and limited plant varieties. Cottage style embraces abundance and color. Native landscaping works with what already grows in your region (which honestly makes everything easier).
Look at your home’s architecture. What materials show up? Repeat those in your hardscaping. If you’ve got warm brick, maybe use similar tones in your pavers instead of cold gray concrete.
You can always check out how to make garden decorations kdalandscapetion for ideas that match your chosen style.
The goal isn’t perfection. It’s creating a space that works for your life.
Core Techniques for a Healthy, Thriving Garden
Most gardening advice tells you to just add some compost and water regularly.
But that’s not the whole story.
I’ve seen too many people follow basic tips and still end up with struggling plants. They buy the right fertilizer and water on schedule, yet their garden never really takes off.
Here’s what most guides won’t tell you.
Soil Preparation is Everything
Your soil does more work than any fertilizer ever will.
I always start with a soil test. Not because I love paperwork, but because guessing what your soil needs is expensive. You can grab a test kit from your local extension office for about $15.
Clay soil? It holds water but suffocates roots. Sandy soil drains fast but can’t hold nutrients. The fix for both is the same: work in 2 to 3 inches of compost before you plant anything.
And I mean work it in. Not just sprinkle it on top.
Proper Planting for Long-Term Success
This is where I see the biggest mistakes.
Dig your hole twice as wide as the root ball but only as deep. When you go deeper, the plant settles and ends up sitting in a bowl of water (which most plants hate).
Before you drop that plant in, rough up the root ball with your hands. Those roots have been growing in circles in the pot. If you don’t break that pattern, they’ll keep circling even in the ground.
Backfill with the same soil you removed. Don’t add amendments to the hole itself. You want roots to spread out into native soil, not stay comfortable in their little pocket of good stuff.
The Magic of Mulching
Mulch does three things that matter.
It keeps soil moist between waterings. It blocks weeds from getting started. And it keeps soil temperature steady when the weather swings.
I use 2 to 3 inches of shredded hardwood bark around most plants. Pine straw works great too, especially around acid-loving plants like azaleas.
But here’s the thing nobody at kdalandscapetion wants you to mess up: pull mulch back from the trunk or stem by a few inches. That volcano look you see everywhere? It traps moisture against bark and invites rot and pests.
Watering Wisely
Deep and infrequent beats shallow and daily every time.
When you water deep, roots grow down looking for moisture. When you water a little bit every day, roots stay near the surface where they’re vulnerable to heat and drought.
I water in the early morning. The plants have all day to dry off, which cuts down on fungal problems. And you lose less water to evaporation than you would at midday.
How do you know if you’re overdoing it? Yellowing leaves and soggy soil that smells sour. Underwatering shows up as wilting that doesn’t bounce back overnight and crispy leaf edges.
Smart Plant Selection and Arrangement

You know that house on your street where everything just looks right?
The one where plants seem to belong exactly where they’re placed. Where nothing looks scraggly or out of place.
That’s not luck.
It comes down to one simple idea: right plant, right place. I know it sounds basic but most people skip this step. They see a pretty plant at the nursery and stick it wherever there’s space.
Then they wonder why it dies or takes over the whole bed.
Here’s what I mean. A hydrangea needs shade and consistent moisture. If you plant it in full sun next to your driveway, you’ll spend all summer trying to keep it alive. But put that same plant under a tree where it gets morning light? It’ll thrive with barely any help from you.
Some gardeners say you can make any plant work anywhere if you just water enough or amend the soil. Sure, you can fight nature. But why would you want to?
Match the plant to the spot and you’ll save yourself hours of work.
Creating Layers That Actually Work
Professional designers use a trick that makes any yard look more expensive. They build in layers.
Start with trees in the back (or center if you’re working with an island bed). These give you height and structure. Then add shrubs in front of trees. They fill the middle zone and provide year-round bones to your design.
Perennials like Lantana ‘Lemon Zest’ come next. These give you color and change with the seasons. Finally, groundcovers fill in the gaps and tie everything together.
Think of it like getting dressed. You wouldn’t wear just a shirt or just pants. You need the full outfit.
Four Seasons Matter
A yard that only looks good in June isn’t really working for you.
I plan for spring bulbs that pop up early. Summer perennials that bloom when it’s hot. Fall color from trees and shrubs that turn red or gold. And winter interest from evergreens or plants with good structure (ornamental grasses hold up beautifully under snow).
Pro tip: Don’t just think about flowers. Bark color, seed heads, and plant form all add interest when nothing’s blooming.
Why Native Plants Make Sense
Look, I’m not going to tell you that you can only use natives. But they make your life easier.
Native plants already know how to handle your weather. They’ve adapted to your soil and rainfall patterns over thousands of years. That means less watering, less fertilizing, and fewer pest problems.
Drought-tolerant options work the same way. Once established, they need minimal water. In Atlanta, that matters when we hit those dry spells in late summer.
Plus, local birds and pollinators actually use native plants. Your yard becomes part of the ecosystem instead of just decoration.
When you’re ready to start planning your landscaping kdalandscapetion project, remember this: work with what you have. Your soil, your sun exposure, your climate.
Fighting those conditions is expensive and exhausting.
Working with them? That’s when your yard starts to feel effortless.
Adding Structure and Function with Hardscaping
Your yard needs bones.
I’m talking about the stuff that doesn’t grow or need watering (thank goodness). Patios, walkways, fences. The hardscaping that gives your outdoor space actual structure.
Defining Spaces with Patios and Decks
Think about where you actually want to sit. Not where some landscaping guide kdalandscapetion says you should put a patio. Where do you naturally gravitate when you step outside?
That’s your spot.
Materials matter but they’re not as complicated as people make them out to be. Concrete pavers are workhorses. Stone looks great but costs more. Wood decks feel warm underfoot but need maintenance (because of course they do).
Creating Flow with Paths and Walkways
Paths should feel like they’re going somewhere on purpose. Not just wandering around like they got lost.
Gravel is cheap and drains well. Pavers look polished. Stepping stones work if you’re going for that casual garden vibe where everything looks a little wild but still intentional.
The trick is connecting your spaces so walking through your yard doesn’t feel like an obstacle course.
Adding Vertical Elements
Fences and pergolas do more than look pretty. They create what designers call garden rooms (which is just a fancy way of saying your yard has different zones).
A trellis gives climbing plants something to grab onto. A pergola gives you shade without blocking the whole sky. And a good fence? That’s privacy gold.
Your Landscaping Journey Starts Now
You now have what you need to plan, plant, and perfect your landscape.
I know it looks like a massive undertaking. But when you break it down into manageable steps, it becomes something you can actually do.
The techniques I’ve shared work because they focus on what matters. Soil health and smart plant selection aren’t flashy, but they set your yard up for long-term success and beauty.
Here’s where you start: Pick one area of your yard to transform using these principles. Just one.
Building momentum is what gets you to the outdoor space you’ve always wanted. You don’t need to tackle everything at once.
The landscaping guide kdalandscapetion gives you the foundation. Now it’s time to put it to work.
Start small and watch what happens. .
 There is a specific skill involved in explaining something clearly — one that is completely separate from actually knowing the subject. Quenlisa Zephoria has both. They has spent years working with sustainable home practices in a hands-on capacity, and an equal amount of time figuring out how to translate that experience into writing that people with different backgrounds can actually absorb and use.
Quenlisa tends to approach complex subjects — Sustainable Home Practices, DIY Garden Projects, Home and Garden Trends being good examples — by starting with what the reader already knows, then building outward from there rather than dropping them in the deep end. It sounds like a small thing. In practice it makes a significant difference in whether someone finishes the article or abandons it halfway through. They is also good at knowing when to stop — a surprisingly underrated skill. Some writers bury useful information under so many caveats and qualifications that the point disappears. Quenlisa knows where the point is and gets there without too many detours.
The practical effect of all this is that people who read Quenlisa's work tend to come away actually capable of doing something with it. Not just vaguely informed — actually capable. For a writer working in sustainable home practices, that is probably the best possible outcome, and it's the standard Quenlisa holds they's own work to.
There is a specific skill involved in explaining something clearly — one that is completely separate from actually knowing the subject. Quenlisa Zephoria has both. They has spent years working with sustainable home practices in a hands-on capacity, and an equal amount of time figuring out how to translate that experience into writing that people with different backgrounds can actually absorb and use.
Quenlisa tends to approach complex subjects — Sustainable Home Practices, DIY Garden Projects, Home and Garden Trends being good examples — by starting with what the reader already knows, then building outward from there rather than dropping them in the deep end. It sounds like a small thing. In practice it makes a significant difference in whether someone finishes the article or abandons it halfway through. They is also good at knowing when to stop — a surprisingly underrated skill. Some writers bury useful information under so many caveats and qualifications that the point disappears. Quenlisa knows where the point is and gets there without too many detours.
The practical effect of all this is that people who read Quenlisa's work tend to come away actually capable of doing something with it. Not just vaguely informed — actually capable. For a writer working in sustainable home practices, that is probably the best possible outcome, and it's the standard Quenlisa holds they's own work to.